Using the gateway / UI
Gateway Screenshots
The gateway UI consists of several tabs, which are briefly shown below to give you a short impression of it.
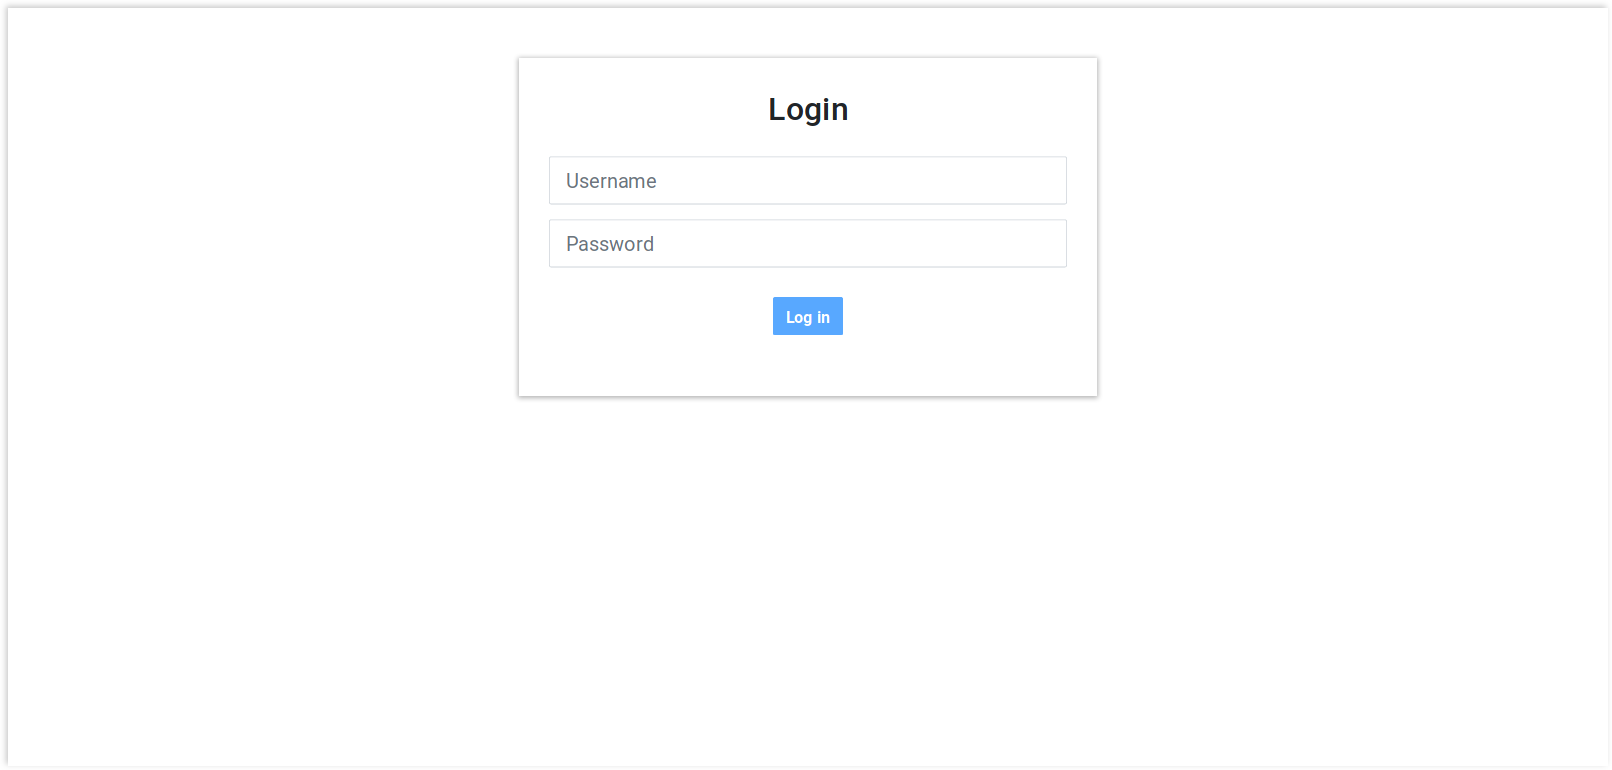
Login screen
Allows you to login. You can also come back here to change the user. It is also possible to login anonymously, as you will see below.
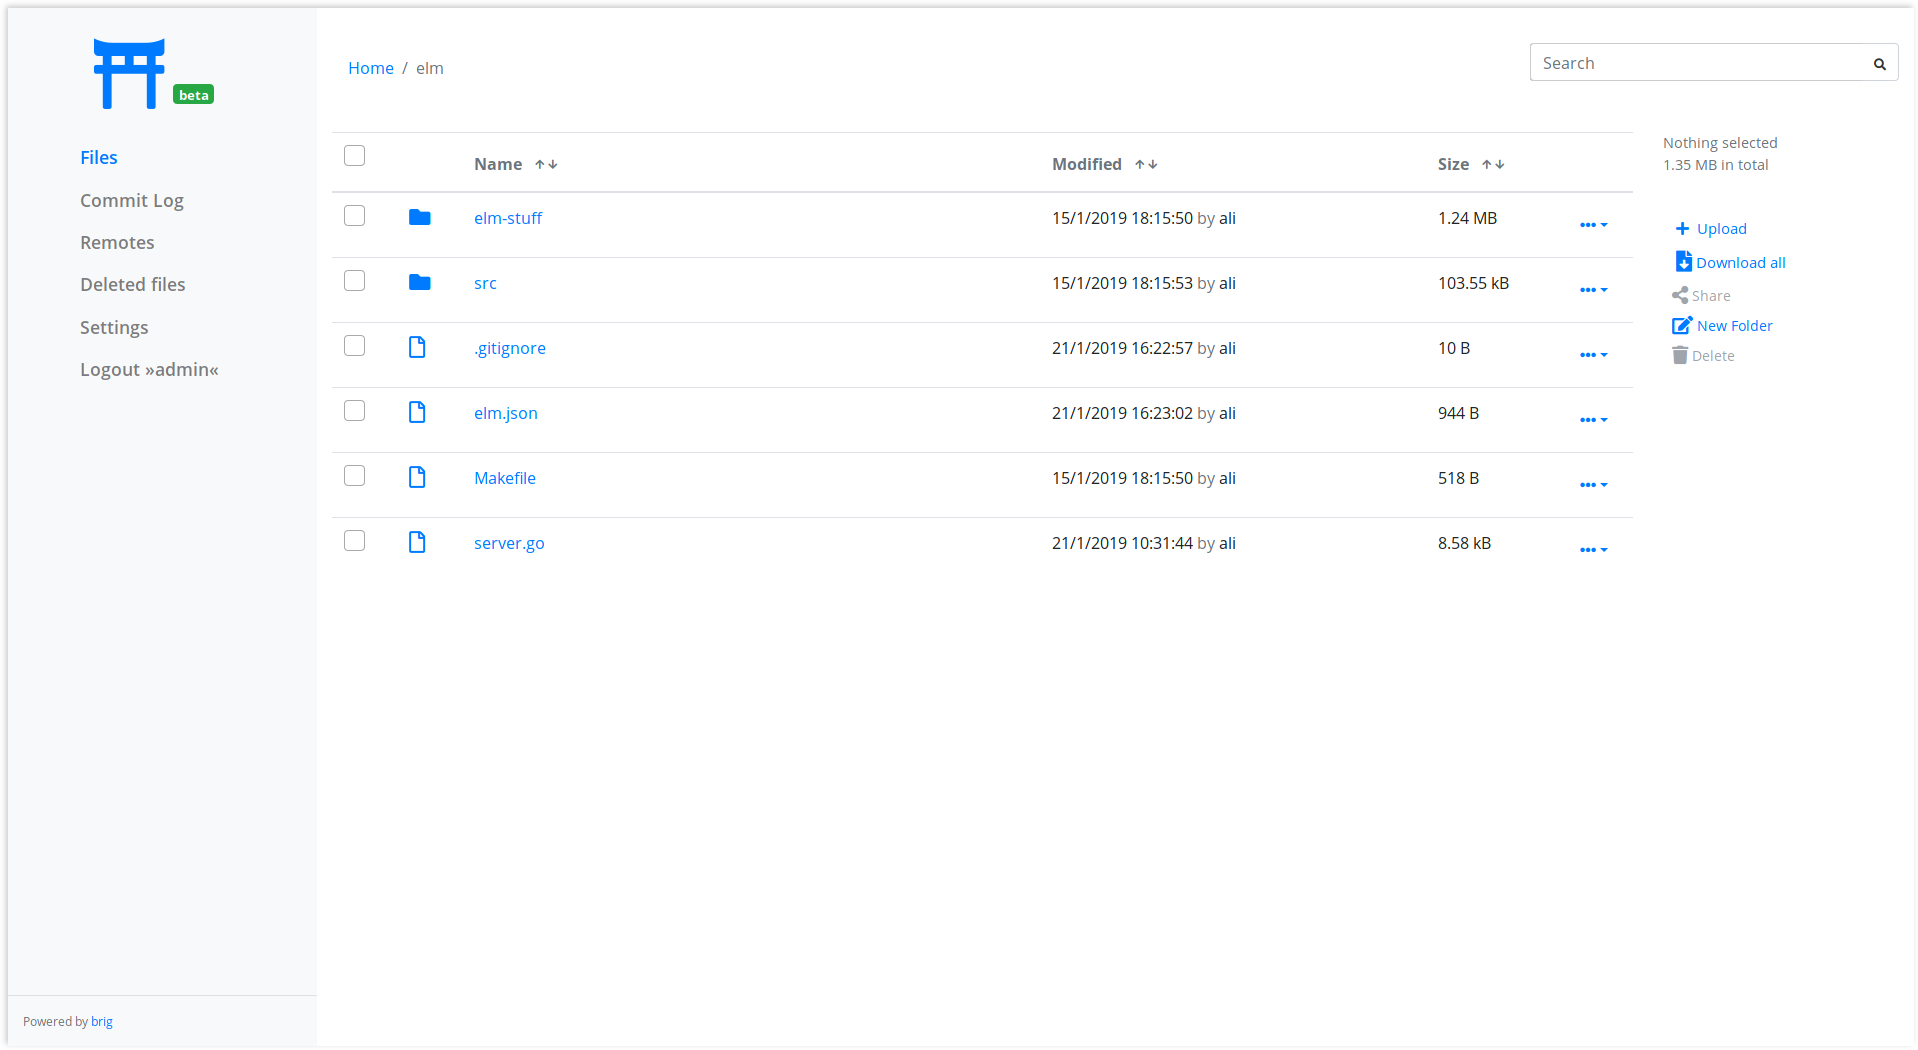
File Browser
The main view. Lists the directory tree and file attributes. Allows for modification, uploading and everything what you’d expect.

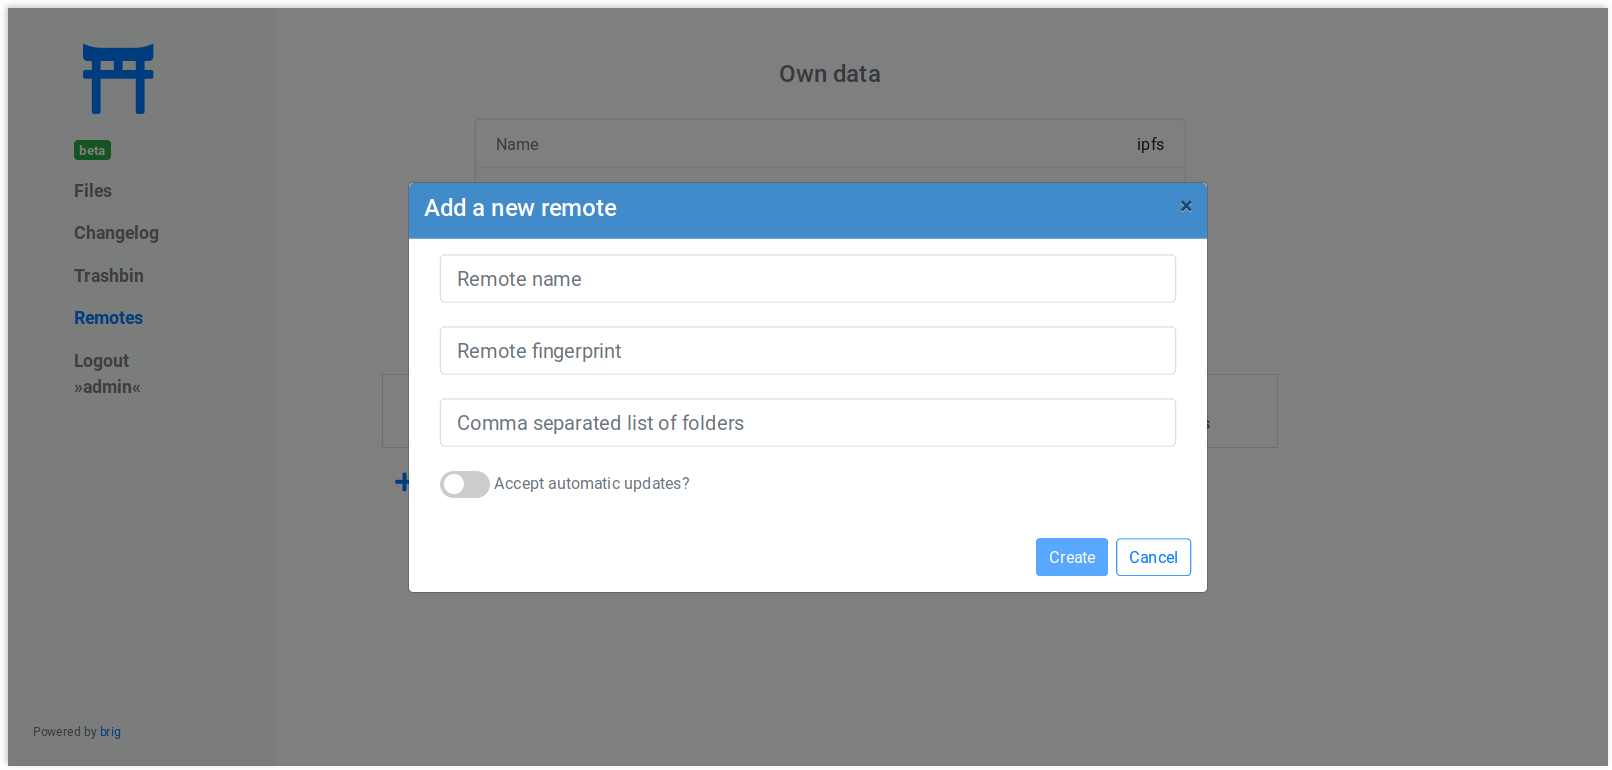
Remote List
If your user is privileged enough, you can see and edit the list of remotes and adjust settings in it.

Introduction
Many users will not run brig themselves, so you won’t be able to brig
sync with them. Chances are that you still want to send or present them your
files without too much hassle. brig features a Gateway to HTTP(S), which
comes particularly handy if you happen to run a public server and/or want to
provide a GUI to your users. It also includes an easy to use UI that is enabled
by default.
Before you do anything, you need to a »user« to your gateway. This user is different than remotes and describes what credentials can be used to access the gateway. You can add add a new user like this:
$ brig gateway user add admin my-password
# or shorter:
# brig gw u a admin my-password
$ brig gateway user list
NAME  FOLDERS
admin /
The gateway is disabled by default. If you want to start it, use this command:
$ brig gateway start
Without further configuration, this will create a HTTP (not HTTPS!) server
on port 6001, which can be used already. If you access it under
http://localhost:6001 you will see a login mask where you can log yourself
in with the credentials you entered earlier.
If you’d like to use another port than 6001, you can do so by setting the
respective config key:
$ brig cfg set gateway.port 7777
Note
You can always check the status of the gateway:
$ brig gateway status
This will also print helpful diagnostics if something might be wrong.
The gateway can be stopped anytime with the following command:
$ brig gateway stop
Note
If you want to forward the gateway to the outside, but do not own a dedicated server, you can forward port 6001 to your computer. With this setup you should also get a certficate which in turn requires a DNS name. An easy way to get one is to use dynamic DNS.
There is also a small helper that will print you a nice hyperlink to a certain
file called brig gateway url:
$ brig gateway url README.md
http://localhost:6001/get/README.md
Folder management
You probably do not want to offer your files to everyone that have a link.
Therefore you can restrict access to a few folders (/public for example)
for individual users. By default a user is allowed to see everything. If you want
a user that can only access the /public folder simply add him as follows:
$ brig gw user add my-new-user /public
Now only the files in /public (and including /public itself) are
accessible from the gateway.
User right management
We already discussed the adding of a user above. There is a little more to that though. You can add users with different rights. In total there are 5 different rights currently:
- fs.view: View and list all files.
- fs.edit: Edit and create new files.
- fs.download: Download file content.
- remotes.view: View the remotes tab.
- remotes.edit: Edit the remotes tab.
When you add users you can give a new user a comma separated list of rights via the -r switch:
$ brig gw user add my-new-user -r 'remotes.view,remotes.edit'
For your convenience there are a bunch of presets which will do the work for you in 99% of the cases:
--role-admin, -a: Add this user as admin (short for »-r ‘fs.view,fs.edit,fs.download,remotes.view,remotes.edit’«)--role-editor, -b: Add this user as collaborator (short for »-r ‘fs.view,fs.edit,fs.download,remotes.view’«)--role-collaborator, -c: Add this user as collaborator (short for »-r ‘fs.view,fs.edit,fs.download’«)--role-viewer, -d: Add this user as viewer (short for »-r ‘fs.view,fs.download’«)--role-link-only, -e: Add this user as linker (short for »-r ‘fs.download’«)
Running the gateway with HTTPS
The gateway has built-in support for LetsEncrypt. If the gateway is reachable under a DNS name, it is straightforward to get a TLS certificate for it. In total there are three methods:
Method one: Automatic: This works by telling the gateway the domain name. Since the retrieval process for getting a certificate involves binding on port 80, you need to prepare the brig binary to allow that without running as root:
# You need to restart the brig daemon for that.
# Every next brig command will restart it.
$ brig daemon quit
$ sudo setcap CAP_NET_BIND_SERVICE=+ep $(which brig)
Afterwards you can set the domain in the config. If the gateway is already running, it will restart immediately.
$ brig cfg set gateway.cert.domain your.domain.org
You can check after a few seconds if it worked by checking if the certfile and keyfile
was set:
$ brig cfg get gateway.cert.certfile
/home/user/.cache/brig/your.domain.org_cert.pem
$ brig cfg get gateway.cert.keyfile
/home/user/.cache/brig/your.domain.org_key.pem
$ curl -i https://your.domain.org:6001
HTTP/2 200
vary: Accept-Encoding
content-type: text/plain; charset=utf-8
content-length: 38
date: Wed, 05 Dec 2018 11:53:57 GMT

<html>
...
</html>
This method has the advantage that the certificate can be updated automatically before it expires.
Method two: Half-Automated:
If the above did not work for whatever reasons, you can try to get a certificate manually.
There is a built-in helper called brig gateway cert that can help you doing that:
$ brig gateway cert your.domain.org
You are not root. We need root rights to bind to port 80.
I will re-execute this command for you as:
$ sudo brig gateway cert nwzmlh4iouqikobq.myfritz.net --cache-dir /home/sahib/.cache/brig

A certificate was downloaded successfully.
Successfully set the gateway config to use the certificate.
Note that you have to re-run this command every 90 days currently.
If successful, this command will set the certfile and keyfile config
values for you. You can test if the change worked by doing the same procedure
as in method one. Sadly, you have to re-execute once the certificate expires.
Method three: Manual:
If you already own a certificate you can make the gateway use it by setting the path to the public certificate and the private key file:
$ brig cfg set gateway.cert.certfile /path/to/cert.pem
$ brig cfg set gateway.cert.keyfile /path/to/key.pem
If you do not own a certificate yet, but want to setup an automated way to download one for usages outside of brig, you should look into certbot.
Redirecting HTTP traffic
This section only applies to you if you choose method one from above and want to run the gateway on port 80 (http) and port 443 (https). This has the advantage that a user does not need to specify the port in a gateway URL have which looks a little bit less »scary«. With this setup all traffic on port 80 will be redirected directly to port 443.
$ brig cfg set gateway.port 443
$ brig cfg set gateway.cert.redirect.enabled true
$ brig cfg set gateway.cert.redirect.http_port 80
Allowing anonymous access
If you want to run a public gateway (for example for a group of friends), then you might want to enable anonymous access. In this mode you will be logged in right away to the gateway without facing the login screen. You still have the option to go to the login screen and become another user.
You can enable the anonymous mode like this:
$ brig cfg set gateway.auth.anon_allowed true
Additionally you have to create an anon user. This allows you to define
what rights the anonymous users have and what folders they may access:
# Give the anonymous users only access to /public and don't let them modify anything:
$ brig gw u add anon anon --role-viewer /public
If you want to change the name of the anon user to something else (for whatever reason) you can do so by
setting the auth.anon_user variable. You also have to re-add the user above with the new name.
$ brig cfg set gateway.auth.anon_user some_other_anon_name_that_is_not_used